Howdy, Stranger!
It looks like you're new here. If you want to get involved, click one of these buttons!
Categories
- 231.8K All Categories
- 22 >> Start Here <<
- 12 New Members
- 8 FAQs
- 83.3K Gear
- 37.9K Guitar
- 3.2K Acoustics
- 1.3K Bass
- 14.1K Amps
- 16.7K FX
- 157 Digital & Modelling
- 730 Other Instruments
- 7.9K Making & Modding
- 406 Gear Reviews
- 100 Guitar Reviews
- 72 Amp Reviews
- 119 FX Reviews
- 84 Other Reviews
- 734 Made in the UK
- 932 Theory
- 1.8K Technique
- 2K Live
- 3K Studio & Recording
- 2.1K Making Music
- 202 Events
- 15 Guitar Show 2018
- 762 Plug My Stuff
- 100.6K Classifieds
- 39.2K Guitars £
- 2.6K Acoustics £
- 132 LH Guitars £
- 836 Basses £
- 10K Parts £
- 17.6K Amps £
- 32.8K FX £
- 2.6K Studio & Rec £
- 5.8K Misc £
- 443 Personnel
- 52.7K Chat
- 35.3K Off Topic
- 987 Tributes
- 6.3K Music
In this Discussion
Become a Subscriber!
Subscribe to our Patreon, and get image uploads with no ads on the site!
UNPLANNED DOWNTIME: 12th Oct 23:45
Fredric Effects boutique guitar pedals - news and updates
 timhulio
Frets: 1239
This is the antidote to my spam/press release thread. For some reason I thought this was the same as the builders/manufacturers forum on TGP, obvs not. Anyway...
I usually build pedals in small batches, but I'm pretty busy over the next few days and I need to post a Grumbly Wolf today.
1) Go to the stock cupboard and grab an enclosure. These Hammond/Eddystone boxes can be bought in quantity from Rapid. Recently I've been buying them direct from the manufacturer, pre-drilled to my specs. Previously I'd been getting them drilled by a local company, until their regular guy left and quality control became an issue (I have similar stories for both powder coating and screen printing). After the boxes are drilled, I get them powder coated professionally. Powder coating places are everywhere, but they'll usually only entertain batches of 50 boxes minimum. Having designed the artwork at 600dpi actual size (so it's not blocky) I get the screen printing done by another company. Then I put the boxes in my stock cupboard.

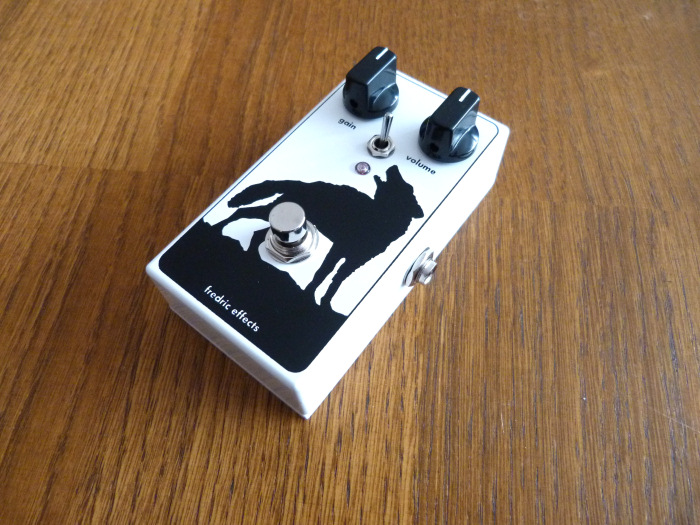
2) Grumbly Wolf enclosure
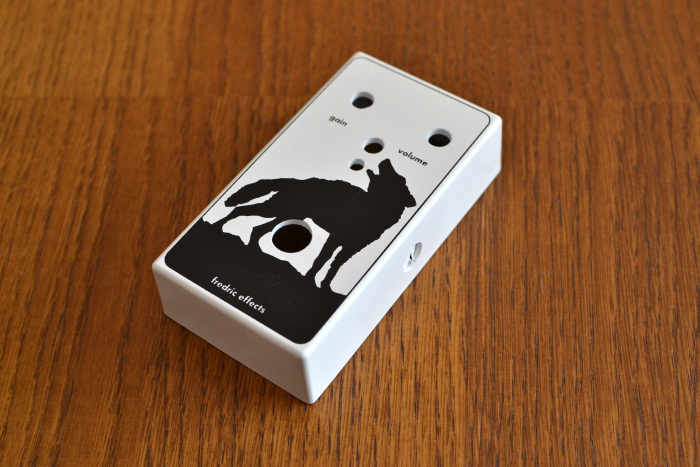
3) Notice the masked area by the jack hole. That's to ground the enclosure.
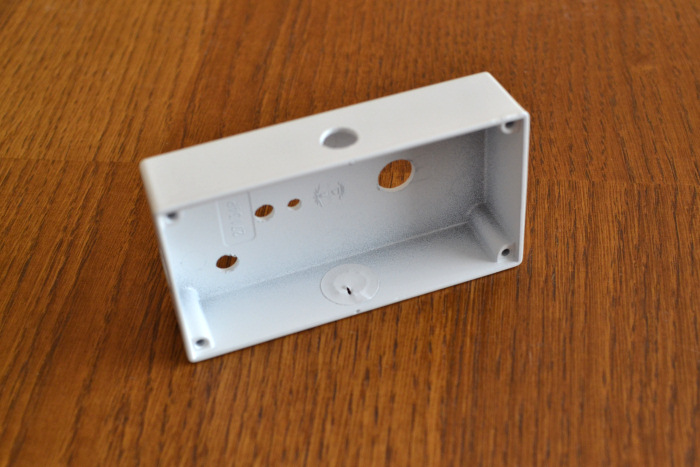
4) Circuit boards are designed in Eagle and manufactured by Seeed Studio. Seeed are cool because the minimum order quantity is 10 boards, so they can be used for prototypes and testing. Turnaround is about a month for the boards, and they offer an assortment of colours.
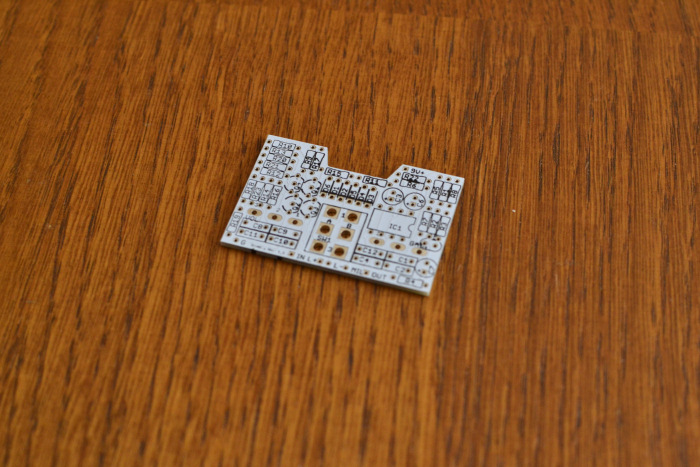
5) Populate that circuit board. I like to follow the order: resistors -> diodes -> capacitors -> transistors.
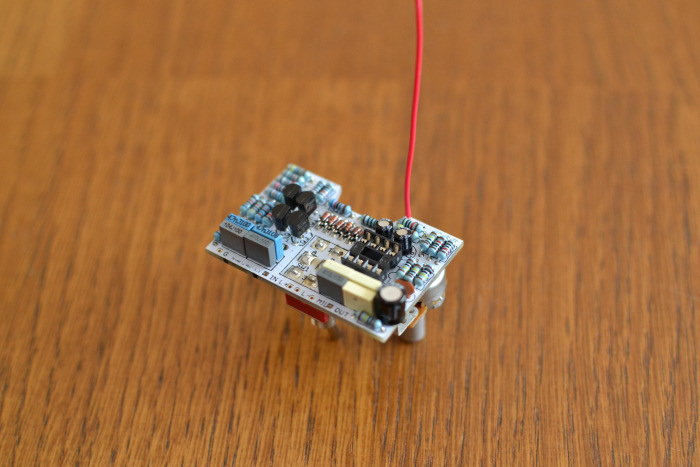

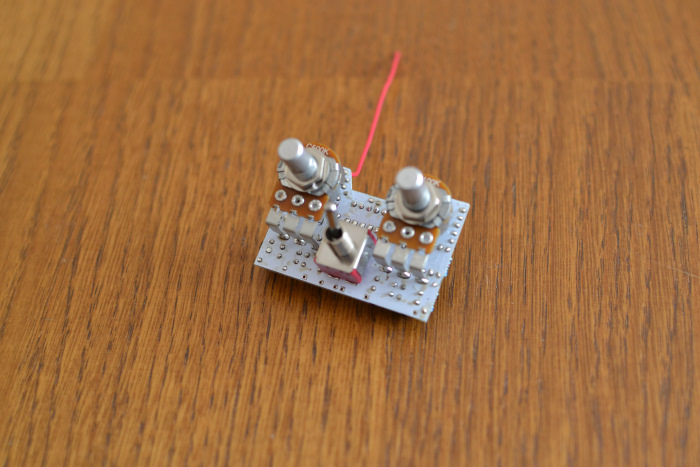
6) I like to mount the pots (Alpha PCB mount right-angled leg) and switch (generic DPDT) on the circuit board to cut build time and for neatness.
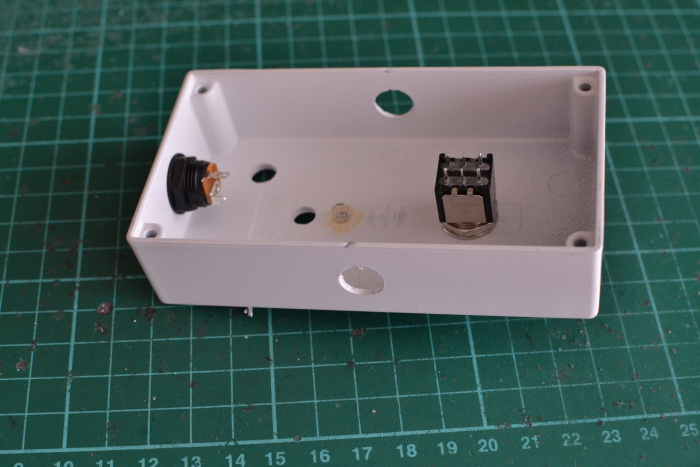
7) Enclosure with the footswitch, LED lens and DC jack fitted. These components are all from Rapid. Use of Millenium Bypass allows the use of the higher quality DPDT Alpha footswitch rather than the chunky blue 3PDT switches you often see.
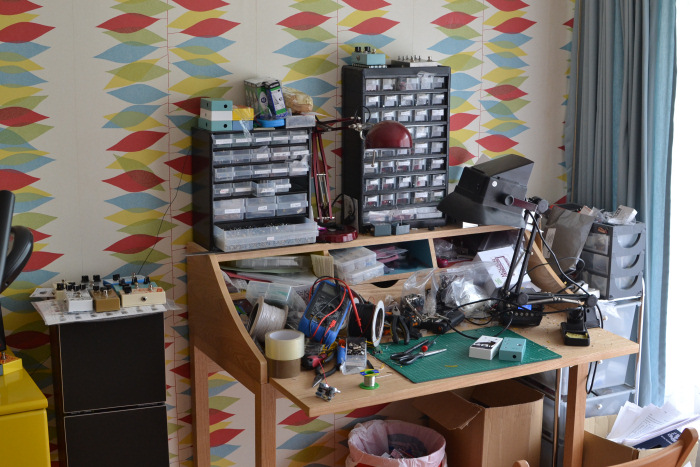
8) Here's my desk. The black hood thing is a solder fume extractor. I use lead-free solder, but the fumes can still give you a cough and dry the shit out of your eyes.
9) Flying leads attached to the circuit board.
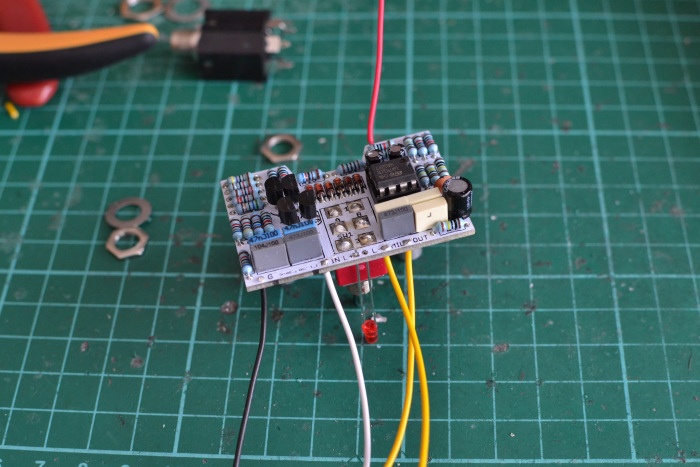
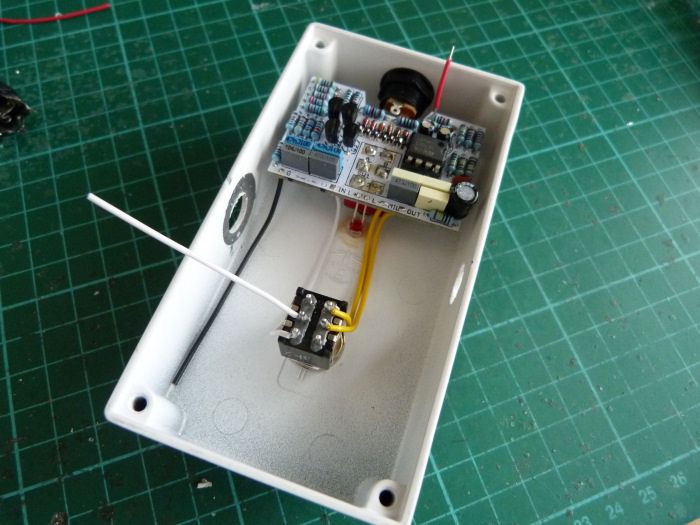
10) Wire the switch. Notice the IN / OUT / MIL (Millenium Bypass control) / G (Ground) pads are conveniently located so the wires don't need to cross over or go a wandering. Similarly the LED + and - are located directly behind the LED hole.

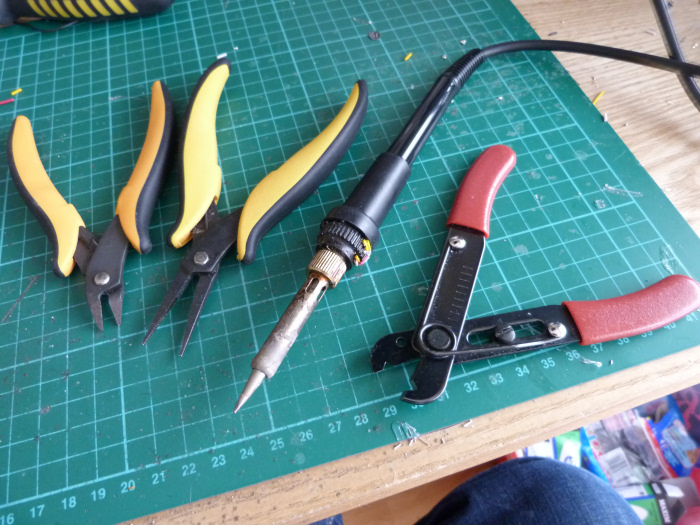
11) Tools req'd. Initially I went through loads of those cheap 30-40 watt Antek soldering irons, but really a decent soldering station with a temperature control is needed for any semi-serious amount of soldering. You run a much greater risk of burning out components with a cheap soldering iron that doesn't get hot enough for solder to flow easily. With this one you're in and out in a second. Mine is set to 450 degrees, because lead-free solder has a higher melting point. Some people hate it because of this, and the fact that it doesn't come out as shiny as lead solder.
These high quality Piergiacomi needle-nose pliers and wire cutters are really nice to use. It's worth investing in some decent tools.

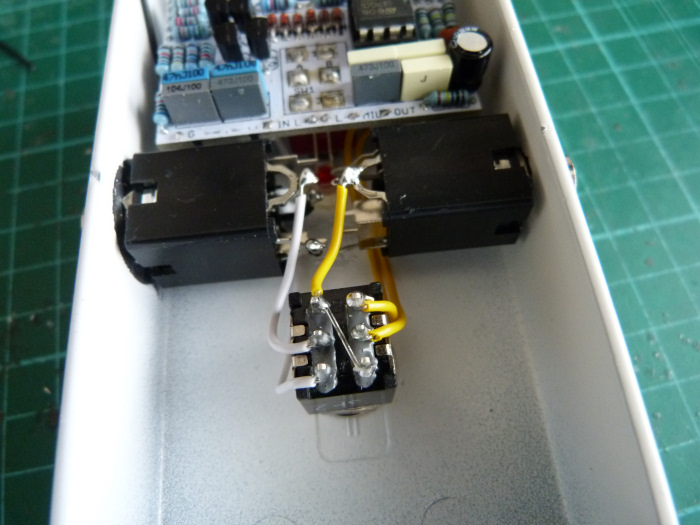
12) Jacks wired. These enclosed jack sockets take up less space than the Neutrik 'open lugged' type I used to use. In my opinion they also have a more positive feel to them, as with the Neutriks you sometimes felt you were forcing the jack in. These are self-anchoring, which makes them easy to fit, and also grounds them to the enclosure wall.
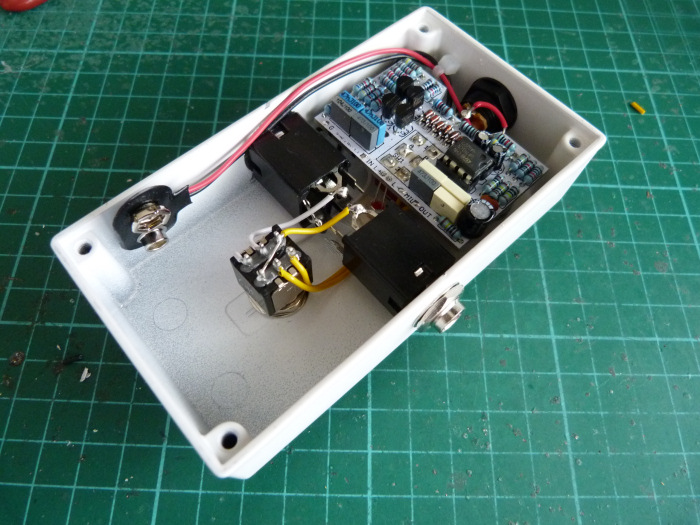
13) Finished. The 9V DC socket is a switching type, so if a battery is installed it's only used if there's no jack in the socket. Similarly, the input jack socket is wired so power is only drawn if the there's a jack in the socket. This is industry standard stuff, although on some older pedals you might find the output is the one doing the switching. The cable tie is for strain relief on the battery snap. Some pedal builders fill their pedals with cable ties, but this pedal only needs one.

14) Grumbly like the wolf

0 LOL 13
 Wow! 14
 Wisdom · Share on Twitter
 LOL 13
 Wow! 14
 Wisdom · Share on Twitter
Base theme by DesignModo & ported to Powered by Vanilla by Chris Ireland, modified by the "theFB" team.


Comments
How do you fnd the reliability of those Alpha DPDT switches ? Personally I've not found them too good (maybe 10% break).
it's also really good to hear about the care and bulk ordering-ness of the enclosures... sometimes lets the side down on pedal manufactury.
thanks
Feedback
Just collected this enclosure prototype. CNC machined 1.2mm steel folded into a nice box. I'll be ordering a bunch when I verify the new PCBs fit. Nifty features include- all the holes being in exactly the right place, a square hole, and I can get these in any size and proportion I like. This one is MXR-sized, however.
Is that silicone that you've applied to the foot switch contacts ,?
What's the reasoning ?