

Howdy, Stranger!
It looks like you're new here. If you want to get involved, click one of these buttons!
Categories
- 231.8K All Categories
- 22 >> Start Here <<
- 12 New Members
- 8 FAQs
- 83.3K Gear
- 37.9K Guitar
- 3.2K Acoustics
- 1.3K Bass
- 14.1K Amps
- 16.7K FX
- 157 Digital & Modelling
- 730 Other Instruments
- 7.9K Making & Modding
- 406 Gear Reviews
- 100 Guitar Reviews
- 72 Amp Reviews
- 119 FX Reviews
- 84 Other Reviews
- 734 Made in the UK
- 932 Theory
- 1.8K Technique
- 2K Live
- 3K Studio & Recording
- 2.1K Making Music
- 202 Events
- 15 Guitar Show 2018
- 762 Plug My Stuff
- 100.6K Classifieds
- 39.2K Guitars £
- 2.6K Acoustics £
- 132 LH Guitars £
- 836 Basses £
- 10K Parts £
- 17.6K Amps £
- 32.8K FX £
- 2.6K Studio & Rec £
- 5.8K Misc £
- 443 Personnel
- 52.7K Chat
- 35.3K Off Topic
- 987 Tributes
- 6.3K Music
Become a Subscriber!
Subscribe to our Patreon, and get image uploads with no ads on the site!
UNPLANNED DOWNTIME: 12th Oct 23:45
First time amp modding - 2 new mods for my Marshall JVM410HJS
 FarleyUK
Frets: 2318
FarleyUK
Frets: 2318
Hi all!
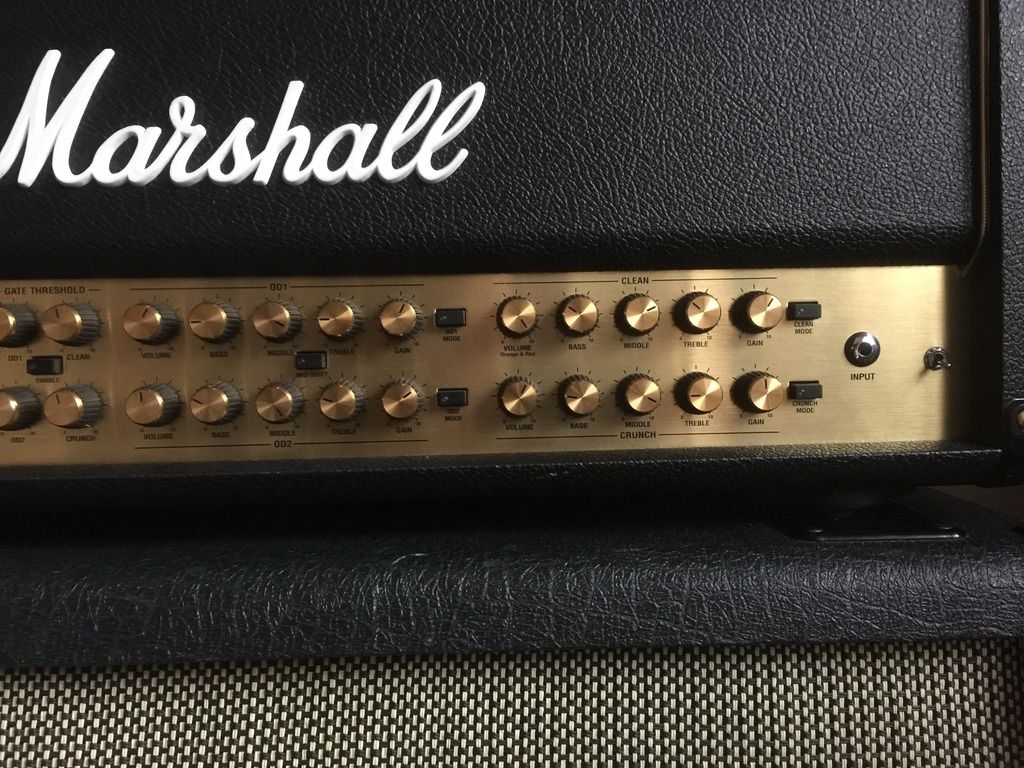
Thought I'd post this to help anyone else with one of these amazing amps. Sound brilliant at stock, but I fancied playing with it a bit - I've now installed:
- Negative feedback mod w/adjustable range
- AFD / Randy Roads 3rd gain stage cascade mod (with 3 way switch)
Both mods really add a lot of new tone options - the negative feedback allows you to go from stock JVM feedback all the way through 2203 JCM800 territory, to 5150 and VOX type negative feedback.
The AFD / RR mod allows the addition of a third gain stage, resulting in more and tighter gain, highs and mids with RR mode, and more grit and crunch in the AFD mode.
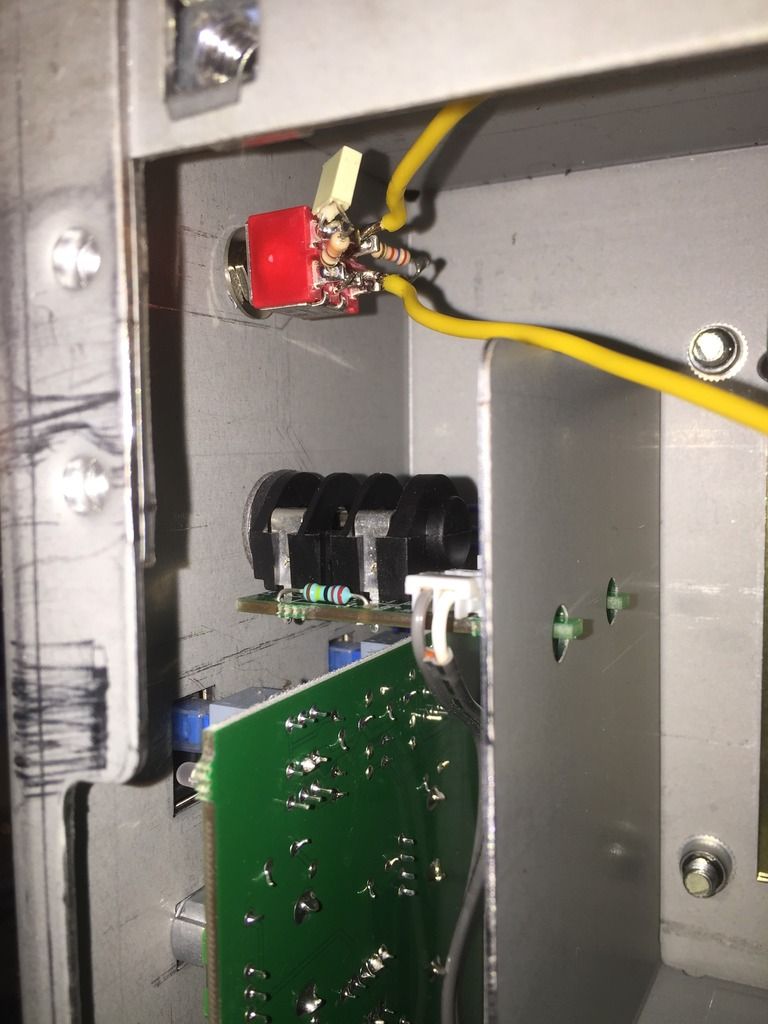
Here's some pics of the AFD / RR mod!
Notice the switch on the far right....?
Flicking the switch 'up' engages the AFD mode - 2k7 resistor in series with 100nf cap, set parallel to the existing 10k resistor. Flicking it 'down' engages the RR mode, which is a 3k7 resistor in parallel to the existing 10k resistor. In the middle, the switch sets the amp to stock.
Easily the scariest and hardest part - soldering onto the existing resistor inside the chassis!!
The negative feedback has a pot that's on the back of the amp to allow on-the-fly adjustment ")
Overall, anyone with a JVMHJS, I would highly recommend these mods. Thanks to the guys over at JVMforum for the help!
0 LOL 3
LOL 3 Wow! 0
 Wisdom · Share on Twitter
LOL 3 Wow! 0 Wisdom · Share on TwitterBase theme by DesignModo & ported to Powered by Vanilla by Chris Ireland, modified by the "theFB" team.
Comments
Nice!!
I have the standard JVM410 which I modded earlier this year.
I added a 4.5H Choke - Gain reduction mod (insane amount on tap) - Plexi mod - and also like yourself I added a pot on the rear panel for the negative feedback mod..
Never tried the JS version, but came very close to buying one earlier this year when Andertons were selling them off pretty cheap.
The AFD/RR mod sounds interesting..
Darren
What kind of toggle switch have you installed? 6 pins? ON-ON-ON or ?
And how is the negative feedback made?
Thanx Peter
I sold the original JVM410HJS about 6 years ago, and have regretted it ever since; and as of yesterday, I'm now the proud (re)owner of one; they're bloody hard to track down!
I wasn't going to mod it, but I just couldn't help myself.... so today I spent a few hours applying the negative feedback mod and the Rhoads / AFD mods. Only trouble is, the original forum with the guide shut down.... and the only post I could find was this one. Thankfully I had the original photos on my phone, and could figure out the wiring etc. Easily the most stressful part was soldering across that resistor on the board; a little bit of poo came out, especially as I melted the cap next to it a bit!
Check out the negative feedback dial and the Rhoads / AFD switch on the right:
Anyway, here are the mods for anyone else interested. Obviously, do this at your own risk:
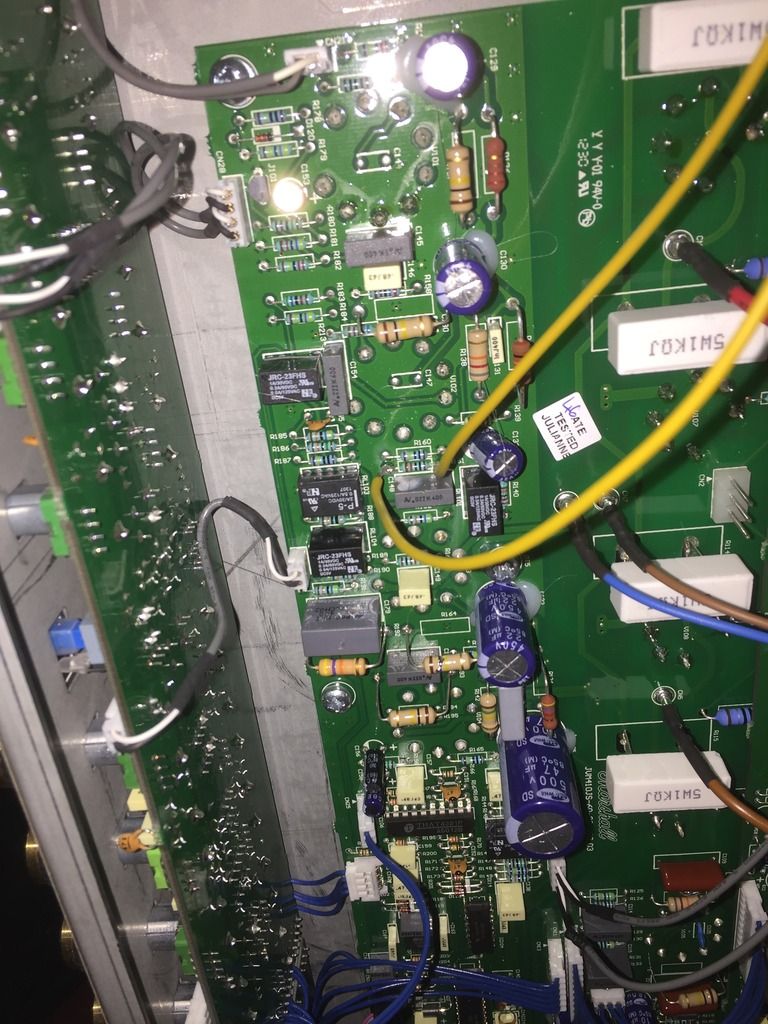
Negative Feedback Mod
Instead of placing another resistor in parallel with R58, I cut the 3rd blue cable at the NFB block - the 3 blue leads on the board, and the cable to cut handily has an arrow above it on the PCB - and put a 1Meg log pot between the cables. You'll need to obviously extend the cables by soldering extra lengths to them.
This has the result of allowing you to change the negative feedback; fully left (or '0') is stock NFB - which I actually prefer - and moving clockwise gradually increases the resistance for the NFB. This has the effect of 'opening the amp up'; you'll notice the depth and presence don't have much impact (if any) when the new NFB pot is fully clockwise.
AFD / Rhoads Mod
This was the scariest mod to do due to having to solder to an existing resistor on the PCB, and it's a VERY tight fit.
To do this, get an On-On-On switch. For the middle two arms, wire a length of cable to each side. For the top two, connect a 3k7 resistor (I had to use a 2k7 and a 1k in series). For the bottom, connect a 100nf / 0.1uf cap in series with a 2k7 resistor.
Now for the shit-your-pants bit.....
Find resistor R161 on the PCB; it should be around the 2nd power tube socket on the left of the board. You need to solder one of the ends of lead you connected to the middle connections on the switch to one side, and the other cable to the other side. You probably want to discharge the filter caps before doing this! I didn't but I'm stupid.
The point of this mod is that when you have the switch in the middle, it is the stock JVM410HJS gain stages. Flip the switch up, and you get the AFD mode; seems to have more mids and bit more girth and gain. Flip it down, and you get the Rhoads mod - pure filth. More gain, more body and more sizzle.
Hope that helps anyone else looking to do these - I'll try and record some vids soon.
Probably a daft question but what wire gauge did you use to run to and from the pot?